 <p>但是,可以看到,上面的效果中,元素的移动不是很丝滑。如果你了解上述的实现方式,就会知道它存在比较大的局限性。
<p>本文,我们还是仅仅通过 CSS,来实现一种丝滑的鼠标点击拖动元素移动的效果。
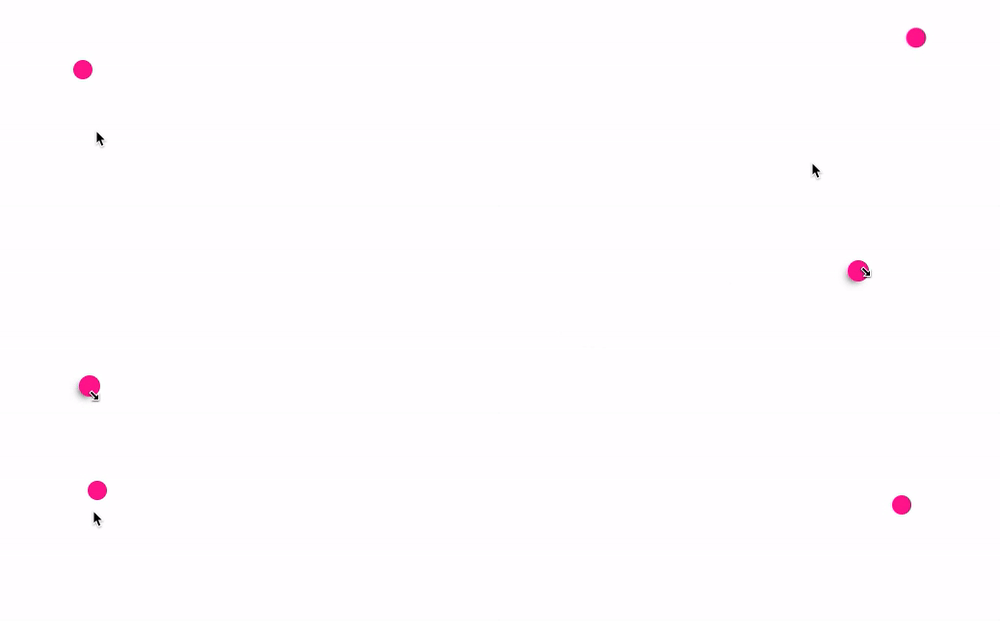 <p>好的,到这里,在继续往下阅读之前,你可以停一停。这种效果,正常而言,都是必须要借助 JavaScript 才能够实现的。从表现上来看:
resize 属性。以及,配合通过构建一种巧妙的布局,去解决可能会遇到的各种难题。
resize 属性来实现一个可改变大小的元素。
<p>什么是 resize 呢?根据 MDN -- resize:该 CSS 属性允许你控制一个元素的可调整大小性。
<p>其 CSS 语法如下所示:
{
/* Keyword values */
  resize: none;
  resize: both;
  resize: horizontal;
  resize: vertical;
  resize: block;
  resize: inline;
}resize: none:元素不能被用户缩放resize: both:允许用户在水平和垂直方向上调整元素的大小resize: horizontal:允许用户在水平方向上调整元素的大小resize: vertical:允许用户在垂直方向上调整元素的大小resize: block:根据书写模式(writing-mode)和方向值(direction),元素显示允许用户在块方向上(block)水平或垂直调整元素大小的机制。resize: inline:根据书写模式(writing-mode)和方向值(direction),元素显示一种机制,允许用户在内联方向上(inline)水平方向或垂直方向调整元素的大小。<p>Lorem ipsum dolor sit amet, consectetur adipisicing elit. A aut qui labore rerum placeat similique hic consequatur tempore doloribus aliquid alias, nobis voluptates. Perferendis, voluptate placeat esse soluta deleniti id!</p>
p {
    width: 200px;
    height: 200px;
    resize: horizontal;
    overflow: scroll;
}200px 的 <p> 为横向可拖拽改变宽度。效果如下:
<p>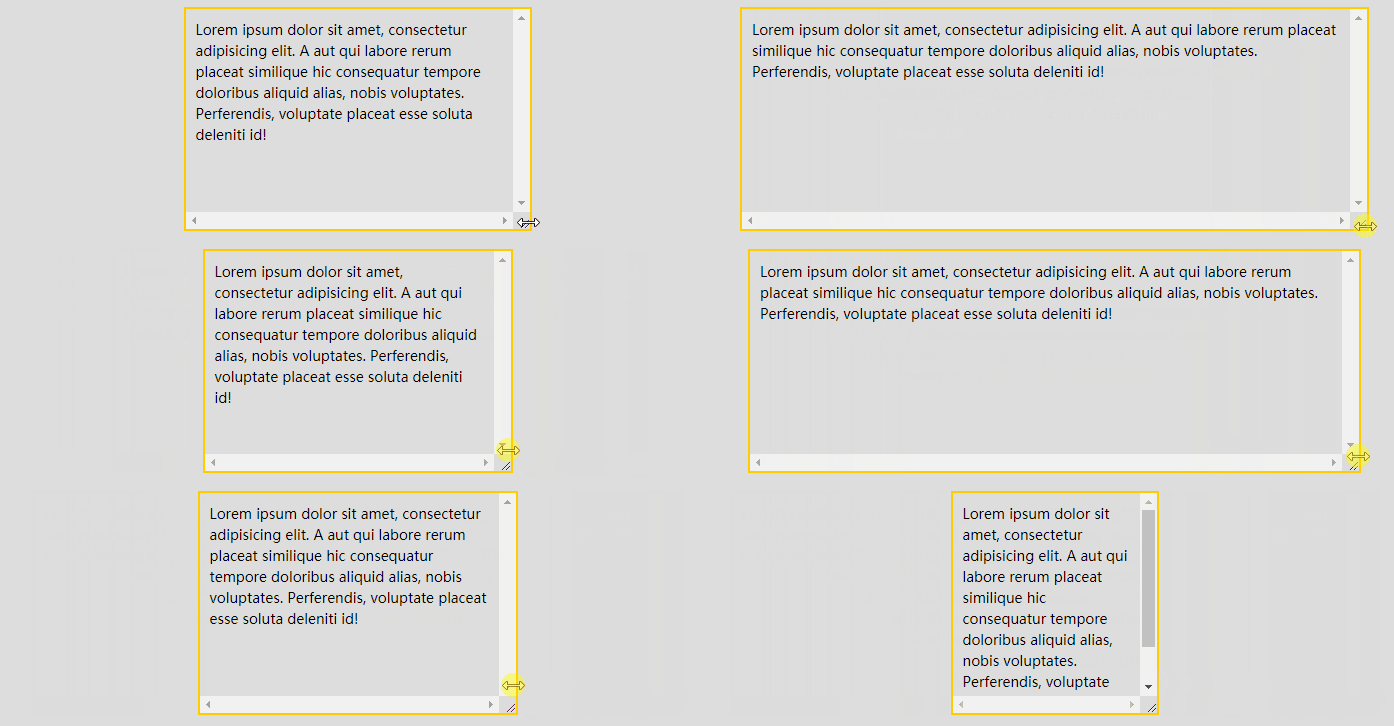 <p>简单总结一些小技巧:
resize 的生效,需要配合 overflow: scroll,当然,准确的说法是,overflow 不是 visible,或者可以直接作用于替换元素譬如图像、<video> 及 <iframe>、<textarea> 等resize 的 horizontal、vertical、both 来设置横向拖动、纵向拖动、横向纵向皆可拖动。max-width、min-width、max-height、min-height 限制可拖拽改变的一个范围resize 还有所疑惑,或者想了解更多 resize 的有趣用法,可以看看我的这篇文章:CSS 奇思妙想 | 使用 resize 实现强大的图片拖拽切换预览功能。
<div class="g-resize"></div>
.g-resize {
    width: 100px;
    height: 100px;
    border: 1px solid deeppink;
} <p>但是,通过给这个元素加上
 resize: both 以及 overflow: scroll,此时,这个元素的大小就通过元素右下角的 ICON 进行拖动改变。
<p>简单修改下我们的 CSS 代码:
.g-resize {
    width: 100px;
    height: 100px;
    border: 1px solid deeppink;
    resize: both;
    overflow: scroll;
}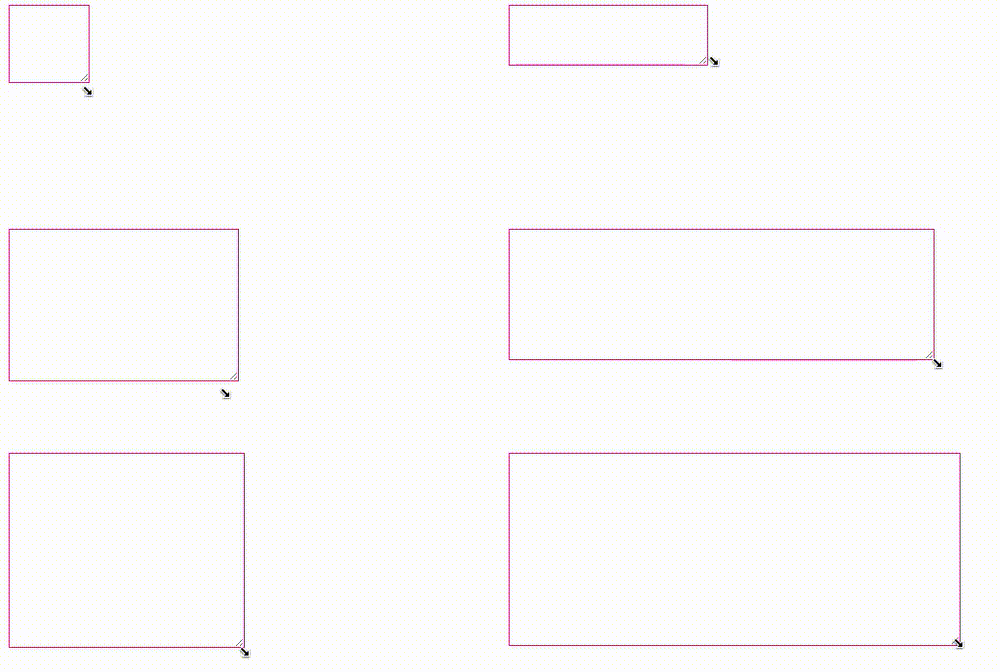 <p>是的,我们的整个效果,就需要借助这个特性进行实现。
<p>在此基础上,我们可以尝试将一个元素定位到上面这个可拖动放大缩小的元素的右下角,看着能不能实现上述的效果。
<p>简单加一点代码:
<div class="g-resize"></div>
.g-resize {
    position: relative;
    width: 20px;
    height: 20px;
    resize: both;
    overflow: scroll;
}
.g-resize::before {
    content: "";
    position: absolute;
    bottom: 0;
    right: 0;
    width: 20px;
    height: 20px;
    border-radius: 50%;
    background: deeppink;
}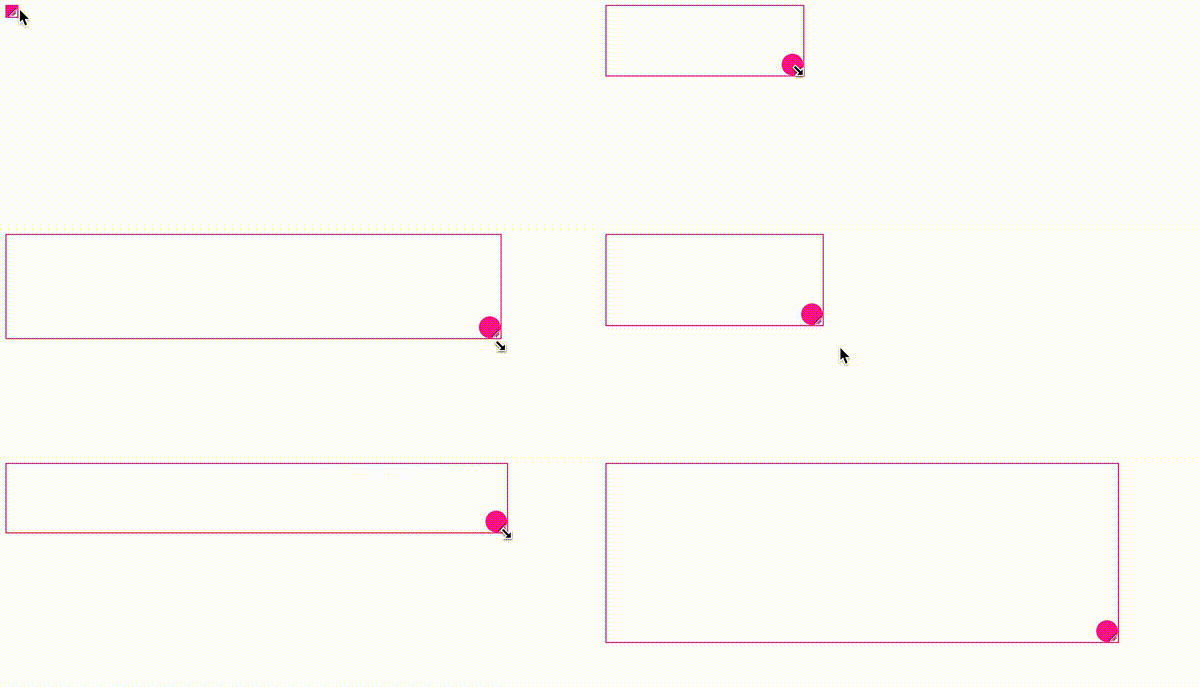 <p>如果我们再把整个设置了
 resize: both 的边框隐藏呢?那么效果就会是这样:
<p>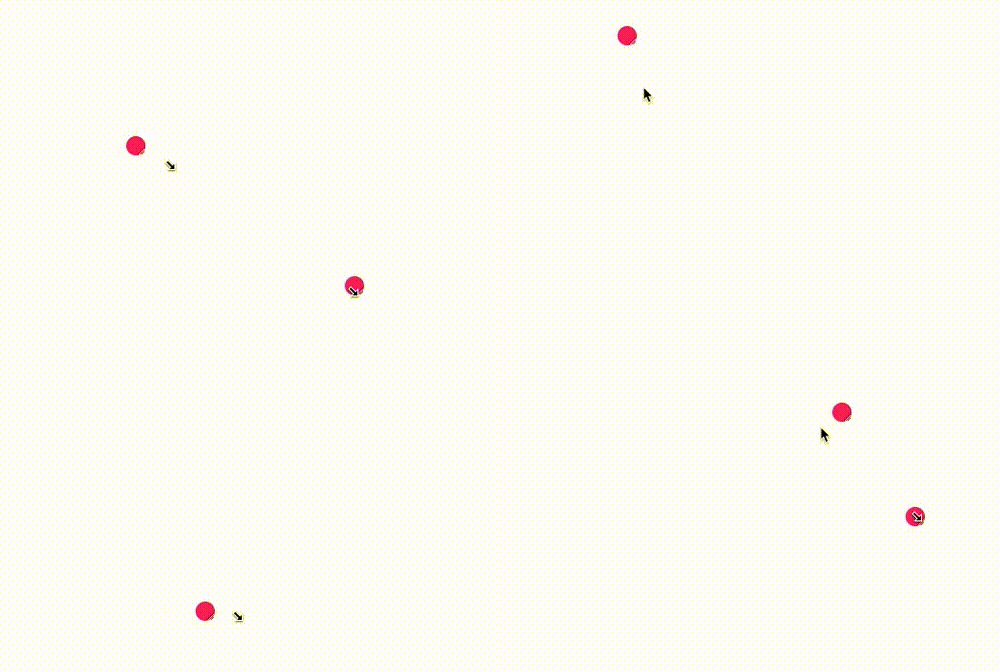 <p>Wow,整个效果已经非常的接近了!只是,认真看的话,能够看到一些瑕疵,就是还是能够看到设置了
 resize 的元素的这个 ICON:
<p>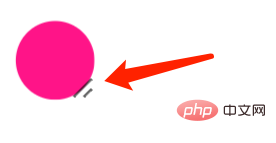 <p>这个也好解决,在 Chrome 中,我们可以通过另外一个伪元素
 ::-webkit-resizer ,设置这个 ICON 的隐藏。
<p>根据 MDN - ::-webkit-resizer,它属于整体的滚动条伪类样式家族中的一员。
<p>其中 ::-webkit-resizer 可以控制出现在某些元素底角的可拖动调整大小的滑块的样式。
<p>所以,这里我就利用这个伪类:
.g-resize {
    position: relative;
    width: 20px;
    height: 20px;
    resize: both;
    overflow: scroll;
}
.g-resize::before {
    content: "";
    position: absolute;
    bottom: 0;
    right: 0;
    width: 20px;
    height: 20px;
    border-radius: 50%;
    background: deeppink;
}
.g-resize::-webkit-resizer {
    background-color: transparent;
}.g-resize::-webkit-resizer 中的 background-color: transparent,将滑块的颜色设置为了透明色。我们就得到了与文章一开始,一模一样的效果:
<p>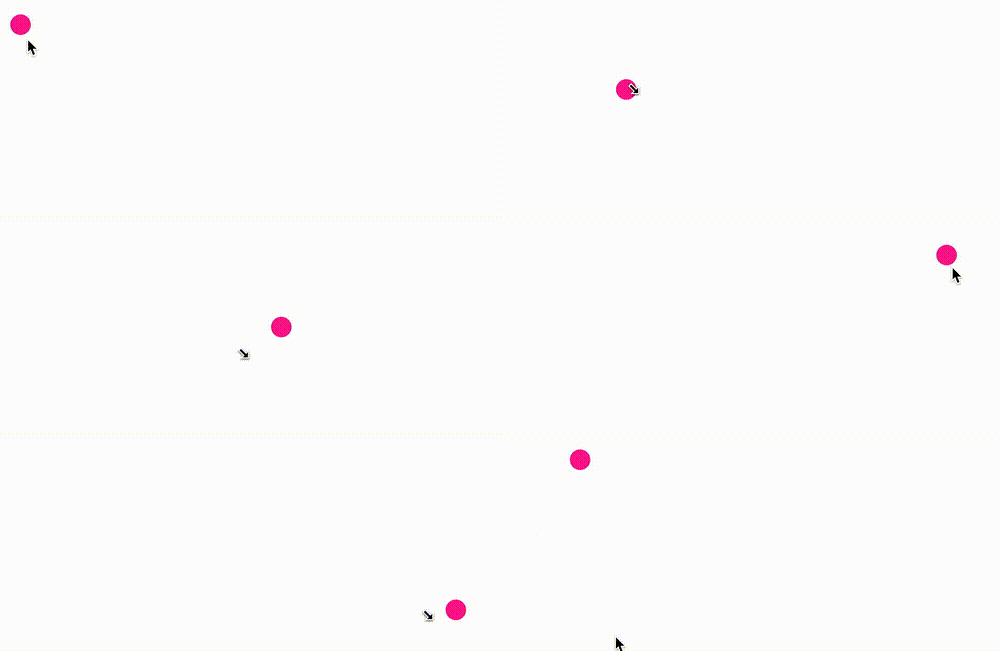
resize 的容器要大,或者其初始位置不在该容器内,超出了的部分因为设置了 overflow: scroll,将无法看到。
<p>因此上述方案存在比较大的缺陷。
<p>举个例子,假设我们需要被拖动的元素不再是一个有这样一个简单的结构:
<div class="g-content"></div>
.g-content {
    width: 100px;
    height: 100px;
    background: black;
    pointer-event: none;

    &::before {
        content: "";
        position: absolute;
        width: 20px;
        height: 20px;
        background: yellow;
        border-radius: 50%;
} <p>如果将这个结构,扔到上面的
 g-resize 中:
<div class="g-content"></div>
overflow: scroll 的原因,将完全看不到,只剩下一小块:
<p> <p>为了解决这个问题,我们得修改原本的 DOM 结构,另辟蹊径。
<p>方法有很多,譬如可以利用 Grid 布局的一些特性。当然,这里我们只需要巧妙的加多一层,就可以完全解决这个问题。
<p>我们来实现这样一个布局:
    <div class="g-resize"></div>
    <div class="g-content"></div>
g-container 设置为绝对定位加上 display: inline-block,这样其盒子大小就可以由内部正常流式布局盒子的大小撑开g-resize 设置为 position: relative 并且设置 resize,负责提供一个可拖动大小元素,在这个元素的变化过程中,就能动态改变父容器的高宽g-content 实际内容盒子,通过 position: absolute 定位到容器的右下角即可.g-container {
position: absolute;
display: inline-block;
}
.g-resize {
content: "";
position: relative;
width: 20px;
height: 20px;
border-radius: 50%;
resize: both;
overflow: scroll;
z-index: 1;
}
.g-content {
position: absolute;
bottom: -80px;
right: -80px;
width: 100px;
height: 100px;
background: black;
pointer-event: none;
&::before {
content: "";
position: absolute;
width: 20px;
height: 20px;
background: yellow;
border-radius: 50%;
transition: .3s;
}
}
.g-container:hover .g-content::before {
transform: scale(1.1);
box-shadow: -2px 2px 4px -4px #333, -4px 4px 8px -4px #333;
}
.g-resize::-webkit-resizer {
background-color: transparent;
}g-content 呈现出来的元素,整个效果就是这样:
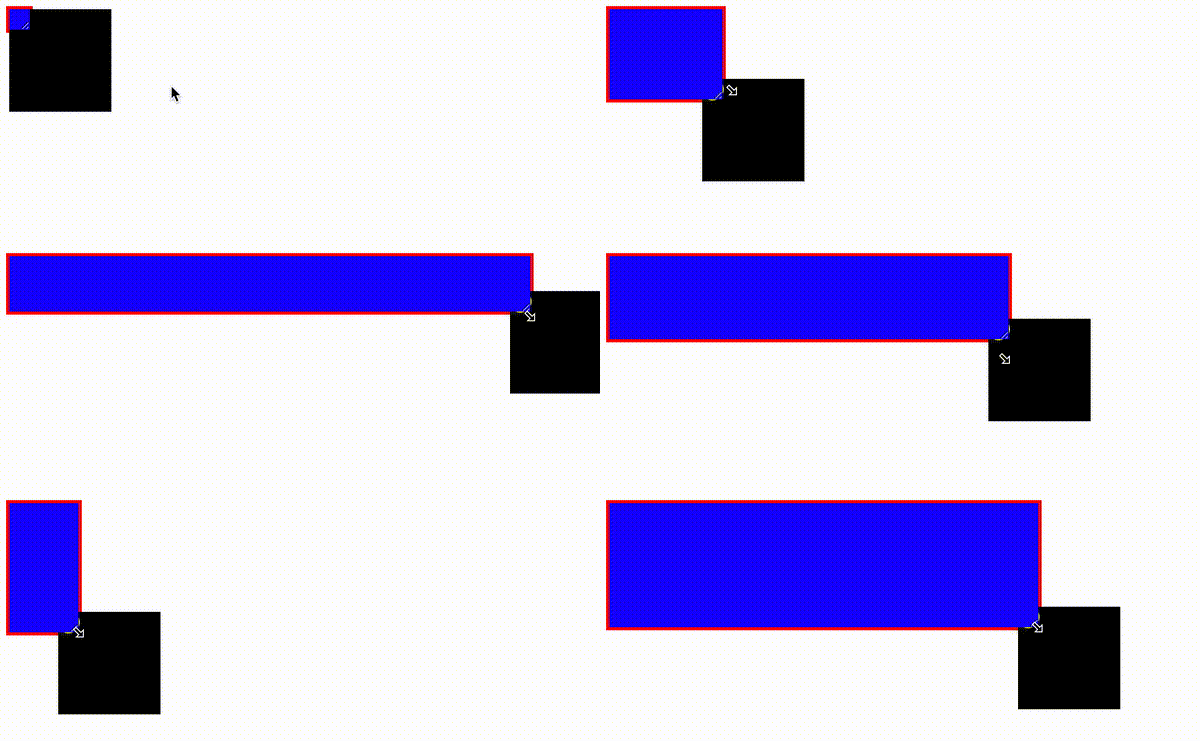
<p>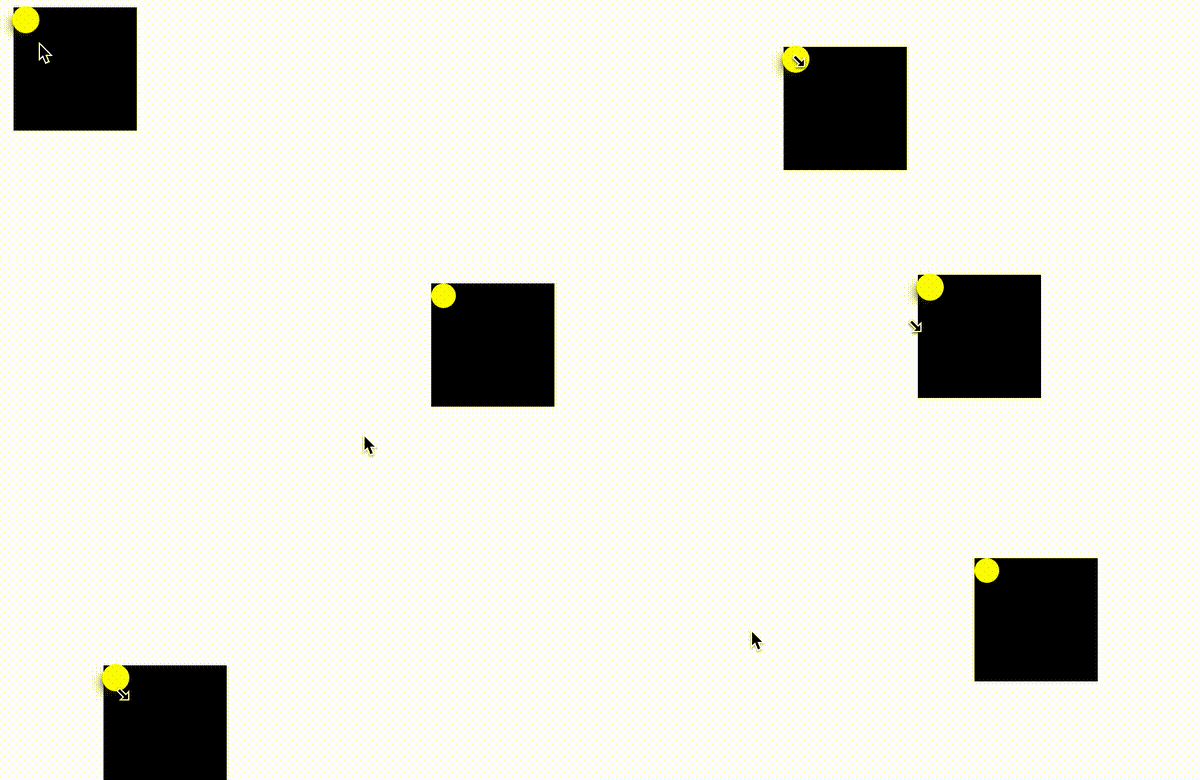 <p>是的,可能你会有所疑惑,下面我用简单不同颜色,标识不同不同的 DOM 结构,方便你去理解。
g-container 的大小g-resize 元素的大小::-webkit-resizer 的透明设置,展示出 resize 框的可拖拽 ICON.g-container {
border: 3px solid red;
}
.g-resize {
content: "";
background: blue;
resize: both;
overflow: scroll;
}
.g-resize::-webkit-resizer {
// background-color: transparent;
}
<p>完整的原理代码,你可以戳这里:CodePen Demo -- Pure CSS Auto Drag Demo
<div class="g-resize"></div>Lorem ipsum dolor sit amet consectetur?
body {
    position: relative;
    padding: 10px;
    background: url("背景图");
    background-size: cover;
}
.g-container {
    position: absolute;
    display: inline-block;
}
.g-resize {
    content: "";
    position: relative;
    width: 20px;
    height: 20px;
    resize: both;
    overflow: scroll;
    z-index: 1;
}
.g-content {
    position: absolute;
    bottom: -160px;
    right: -180px;
    color: rgba(#000, 0.8);
    background-image: linear-gradient(
        160deg,
        rgb(255, 222, 30) 50%,
        rgb(255, 250, 80)
    );
    width: 200px;
    height: 180px;
    pointer-event: none;
    text-align: center;
    font-family: "marker felt", "comic sans ms", sans-serif;
    font-size: 24px;
    line-height: 1.3;
    padding: 1em;
    box-sizing: border-box;
    &:before {
        content: "";
        position: absolute;
        width: 20px;
        height: 20px;
        top: 0;
        left: 0;
        border-radius: 50%;
        background-image: radial-gradient(
            at 60% 30%,
            #f99,
            red 20%,
            rgb(180, 8, 0)
        );
        background-position: 20% 10%;
        cursor: pointer;
        pointer-events: none;
        transform: scale(0.8);
        box-shadow: -5px 10px 3px -8.5px #000, -1px 7px 12px -5px #000;
        transition: all 0.3s ease;
        transform: scale(0.8);
    }
}
.g-container:hover .g-content::before {
    transform: scale(0.9);
    box-shadow: -5px 10px 6px -8.5px #000, -1px 7px 16px -4px #000;
}
.g-resize::-webkit-resizer {
    background-color: transparent;
} <p>当然,我们可以再配合上另外一个有意思是 HTML 属性 --
 contenteditable。
<p>contenteditable 是一个 HTML TAG 的属性,表示元素是否可被用户编辑。如果可以,浏览器会修改元素的部件以允许编辑。
<p>简单修改一下 DOM 结构:
<div class="g-resize"></div>Lorem ipsum dolor sit amet consectetur?
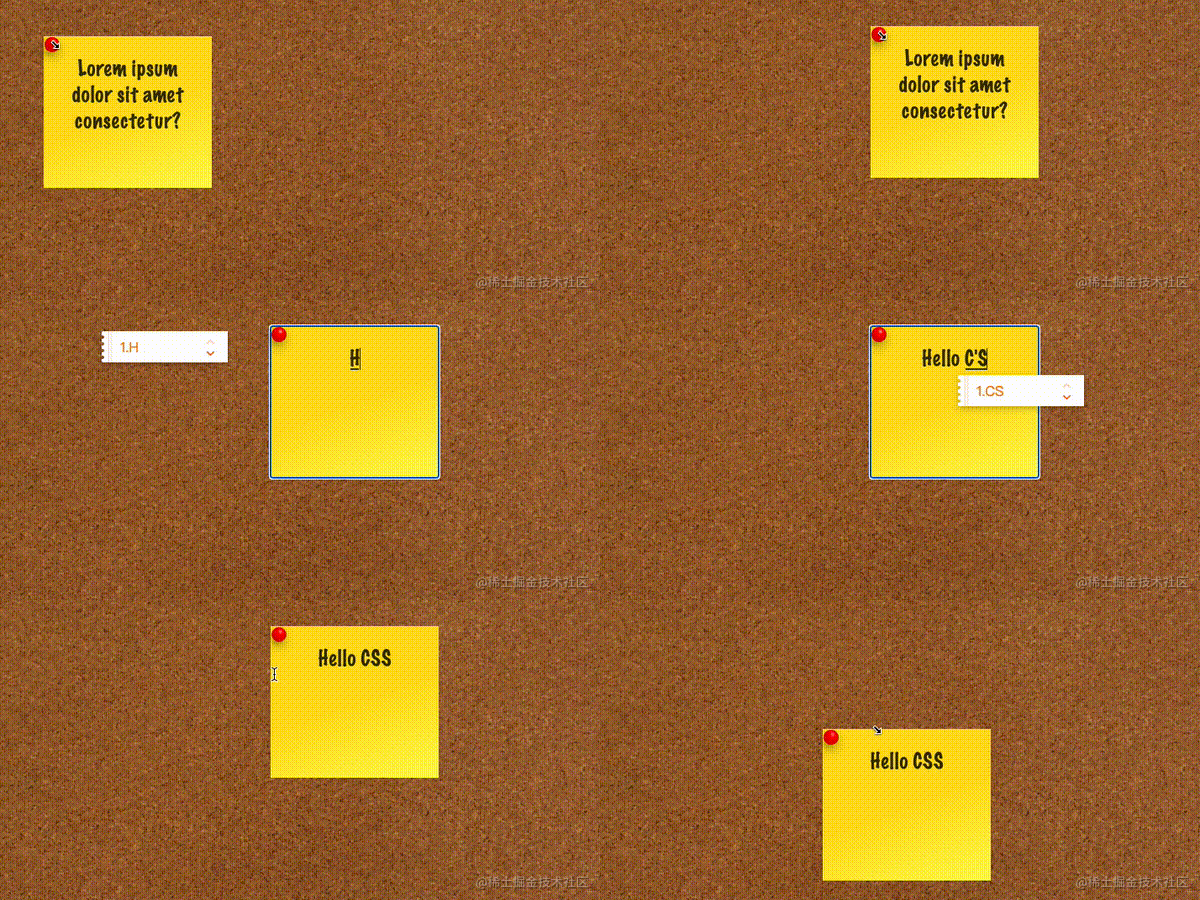 <p>纯 CSS 实现的效果,非常的有意思,完整的代码,你可以戳这里:Pure CSS Auto Drag Demo
resize 这个 CSS 属性,其实还有很多有意思的用法。譬如我之前使用了 Resize 实现了一个图片切换预览的功能:CSS 奇思妙想 | 使用 resize 实现强大的图片拖拽切换预览功能 可以一并看看,相信能碰撞出更多火花。
<p>原文地址:https://www.cnblogs.com/coco1s/p/16774696.html<p>(学习视频分享:web前端)
<p>作者:ChokCoco
以上是巧用纯CSS实现鼠标点击拖拽效果,让交互更加生动!的详细内容。更多信息请关注PHP中文网其他相关文章!
