

windows中怎么使用Nginx搭建图片服务器

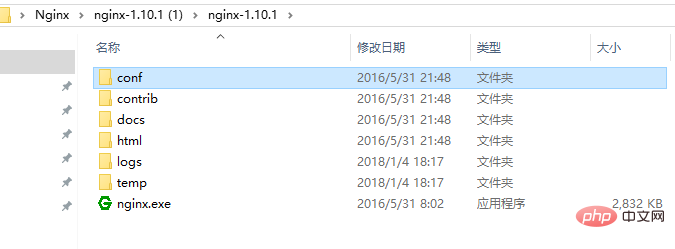
1.进入官网下载nginx压缩包,解压后目录如下
2.在解压后的conf/nginx.conf配置文件中,添加添加或者修改带有颜色地方的代码
#user nobody;
worker_processes 1;
#error_log logs/error.log;
#error_log logs/error.log notice;
#error_log logs/error.log info;
#pid logs/nginx.pid;

events {
worker_connections 1024;
}

http {
include mime.types;
default_type application/octet-stream;

#log_format main '$remote_addr - $remote_user [$time_local] "$request" '
# '$status $body_bytes_sent "$http_referer" '
# '"$http_user_agent" "$http_x_forwarded_for"';

#access_log logs/access.log main;

sendfile on;
#tcp_nopush on;

#keepalive_timeout 0;
keepalive_timeout 65;

#gzip on;

server {
listen 8089;
server_name localhost;

#charset utf-8;
#access_log logs/host.access.log main;

#添加博客的代码
location ~ .*\.(gif|jpg|jpeg|png)$ {
expires 24h;
root g:/images/;#指定图片存放路径
access_log g:/images/log;#图片路径
proxy_store on;
proxy_store_access user:rw group:rw all:rw;
proxy_temp_path g:/images/;#图片路径
proxy_redirect off;

proxy_set_header host 127.0.0.1;
proxy_set_header x-real-ip $remote_addr;
proxy_set_header x-forwarded-for $proxy_add_x_forwarded_for;
client_max_body_size 10m;
client_body_buffer_size 1280k;
proxy_connect_timeout 900;
proxy_send_timeout 900;
proxy_read_timeout 900;
proxy_buffer_size 40k;
proxy_buffers 40 320k;
proxy_busy_buffers_size 640k;
proxy_temp_file_write_size 640k;
if ( !-e $request_filename)
{
proxy_pass http://169.254.140.133:8089; #代理访问地址
}
}

location / {
root html;
index index.html index.htm;
}

#error_page 404 /404.html;

# redirect server error pages to the static page /50x.html
#
error_page 500 502 503 504 /50x.html;
location = /50x.html {
root html;
}

# proxy the php scripts to apache listening on 127.0.0.1:80
#
#location ~ \.php$ {
# proxy_pass http://127.0.0.1;
#}

# pass the php scripts to fastcgi server listening on 127.0.0.1:9000
#
#location ~ \.php$ {
# root html;
# fastcgi_pass 127.0.0.1:9000;
# fastcgi_index index.php;
# fastcgi_param script_filename /scripts$fastcgi_script_name;
# include fastcgi_params;
#}

# deny access to .htaccess files, if apache's document root
# concurs with nginx's one
#
#location ~ /\.ht {
# deny all;
#}
}


# another virtual host using mix of ip-, name-, and port-based configuration
#
#server {
# listen 8000;
# listen somename:8080;
# server_name somename alias another.alias;

# location / {
# root html;
# index index.html index.htm;
# }
#}


# https server
#
#server {
# listen 443 ssl;
# server_name localhost;

# ssl_certificate cert.pem;
# ssl_certificate_key cert.key;

# ssl_session_cache shared:ssl:1m;
# ssl_session_timeout 5m;

# ssl_ciphers high:!anull:!md5;
# ssl_prefer_server_ciphers on;

# location / {
# root html;
# index index.html index.htm;
# }
#}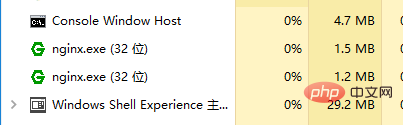
}3.点击绿色的nginx.exe图标,启动服务器,在任务管理器看到如下,则启动成功
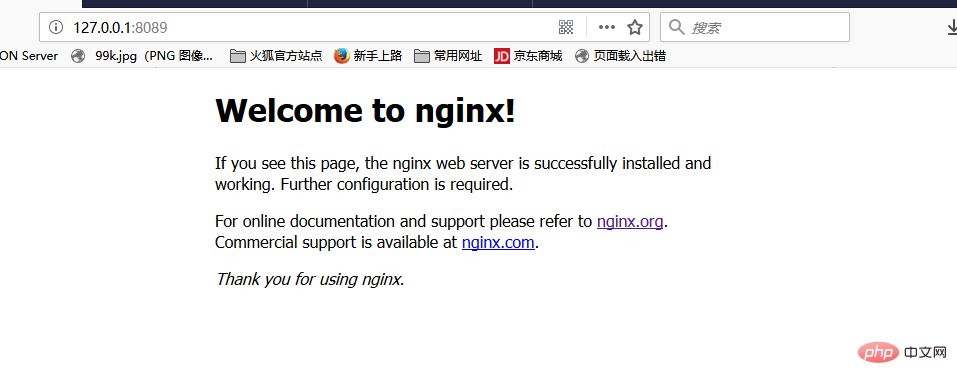
4.在浏览器中输入http://127.0.0.1:8089可以看到
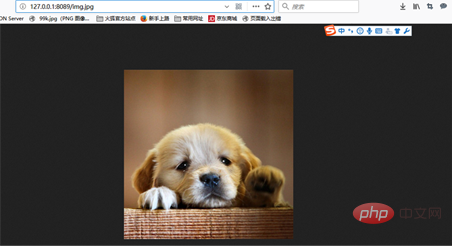
5.在g:/images/下,放一个图片,在浏览器地址栏输入http://127.0.0.1:8089/img.jpg,就可以访问到服务器上的图片
以上是windows中怎么使用Nginx搭建图片服务器的详细内容。更多信息请关注PHP中文网其他相关文章!

热AI工具

Undresser.AI Undress
人工智能驱动的应用程序,用于创建逼真的裸体照片

AI Clothes Remover
用于从照片中去除衣服的在线人工智能工具。

Undress AI Tool
免费脱衣服图片

Clothoff.io
AI脱衣机

AI Hentai Generator
免费生成ai无尽的。

热门文章
热工具

记事本++7.3.1
好用且免费的代码编辑器

SublimeText3汉化版
中文版,非常好用

禅工作室 13.0.1
功能强大的PHP集成开发环境

Dreamweaver CS6
视觉化网页开发工具

SublimeText3 Mac版
神级代码编辑软件(SublimeText3)
热门话题


 nginx403怎么解决
Apr 14, 2025 am 10:33 AM
nginx403怎么解决
Apr 14, 2025 am 10:33 AM
如何解决 Nginx 403 Forbidden 错误?检查文件或目录权限;2. 检查 .htaccess 文件;3. 检查 Nginx 配置文件;4. 重启 Nginx。其他可能原因还包括防火墙规则、SELinux 设置或应用程序问题。
 linux怎么启动nginx
Apr 14, 2025 pm 12:51 PM
linux怎么启动nginx
Apr 14, 2025 pm 12:51 PM
在 Linux 中启动 Nginx 的步骤:检查 Nginx 是否已安装。使用 systemctl start nginx 启动 Nginx 服务。使用 systemctl enable nginx 启用在系统启动时自动启动 Nginx。使用 systemctl status nginx 验证启动是否成功。在 Web 浏览器中访问 http://localhost 查看默认欢迎页面。
 nginx403错误怎么解决
Apr 14, 2025 pm 12:54 PM
nginx403错误怎么解决
Apr 14, 2025 pm 12:54 PM
服务器无权访问所请求的资源,导致 nginx 403 错误。解决方法包括:检查文件权限。检查 .htaccess 配置。检查 nginx 配置。配置 SELinux 权限。检查防火墙规则。排除其他原因,如浏览器问题、服务器故障或其他可能的错误。
 怎么查看nginx是否启动
Apr 14, 2025 pm 01:03 PM
怎么查看nginx是否启动
Apr 14, 2025 pm 01:03 PM
确认 Nginx 是否启动的方法:1. 使用命令行:systemctl status nginx(Linux/Unix)、netstat -ano | findstr 80(Windows);2. 检查端口 80 是否开放;3. 查看系统日志中 Nginx 启动消息;4. 使用第三方工具,如 Nagios、Zabbix、Icinga。
 nginx在windows中怎么配置
Apr 14, 2025 pm 12:57 PM
nginx在windows中怎么配置
Apr 14, 2025 pm 12:57 PM
如何在 Windows 中配置 Nginx?安装 Nginx 并创建虚拟主机配置。修改主配置文件并包含虚拟主机配置。启动或重新加载 Nginx。测试配置并查看网站。选择性启用 SSL 并配置 SSL 证书。选择性设置防火墙允许 80 和 443 端口流量。
 怎么解决nginx跨域问题
Apr 14, 2025 am 10:15 AM
怎么解决nginx跨域问题
Apr 14, 2025 am 10:15 AM
解决 Nginx 跨域问题有两种方法:修改跨域响应头:添加指令以允许跨域请求,指定允许的方法和头,以及设置缓存时间。使用 CORS 模块:启用模块并配置 CORS 规则,允许跨域请求、方法、头和设置缓存时间。
 nginx304错误怎么解决
Apr 14, 2025 pm 12:45 PM
nginx304错误怎么解决
Apr 14, 2025 pm 12:45 PM
问题的答案:304 Not Modified 错误表示浏览器已缓存客户端请求的最新资源版本。解决方案:1. 清除浏览器缓存;2. 禁用浏览器缓存;3. 配置 Nginx 允许客户端缓存;4. 检查文件权限;5. 检查文件哈希;6. 禁用 CDN 或反向代理缓存;7. 重启 Nginx。
 linux怎么查看nginx是否启动
Apr 14, 2025 pm 12:48 PM
linux怎么查看nginx是否启动
Apr 14, 2025 pm 12:48 PM
在 Linux 中,使用以下命令检查 Nginx 是否已启动:systemctl status nginx根据命令输出进行判断:如果显示 "Active: active (running)",则 Nginx 已启动。如果显示 "Active: inactive (dead)",则 Nginx 已停止。
