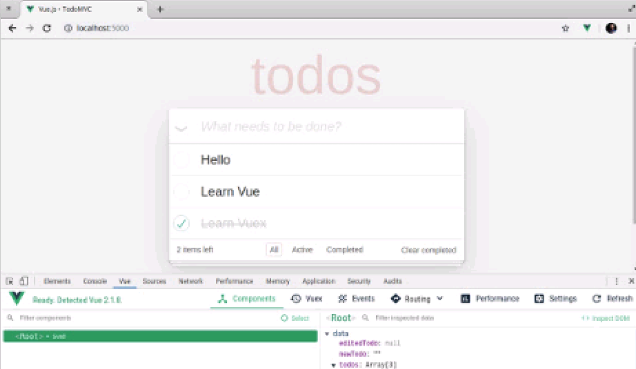
Vue.js devtools V5.1.1
After downloading the crx file of Vue.js devtools, open Chrome's extensions page (chrome://extensions/ or press the Chrome menu icon > More Tools > Extensions Finder), then drag and drop the crx file to the extension page Install it;
4. Click "Add extension" to complete the installation.

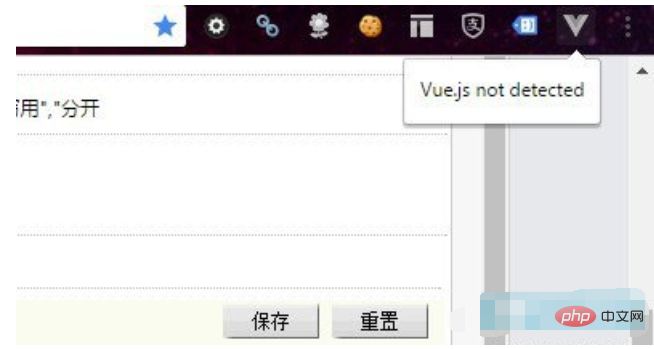
5. The Vue.js devtool plug-in cannot be used after installation, and the prompt "vue.js not detected" appears. At this time we can use The following method:
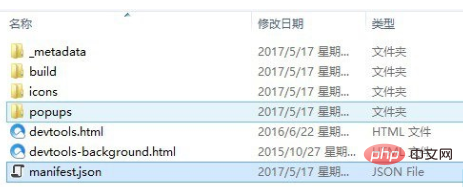
First, we need to find the installation directory of the Vue.js devtool plug-in. (If you really can’t find the installation location of the plug-in, you can search for the plug-in ID on your local computer: nhdogjmejiglipccpnnnanhbledajbpd.) The installation location of the chrome plug-in is different in different operating systems. For example, the installation location of the chrome plug-in in win8 system: C:\Users\Administrator\ AppData\Local\Google\Chrome\User Data\Default\Extensions\nhdogjmejiglipccpnnnanhbledajbpd
Second, after finding the installation directory of the Vue.js devtool plug-in, open the mainifest.json file (this is the key).
Change the code persistent: false in mainfest.json to persistent: true. As shown below:
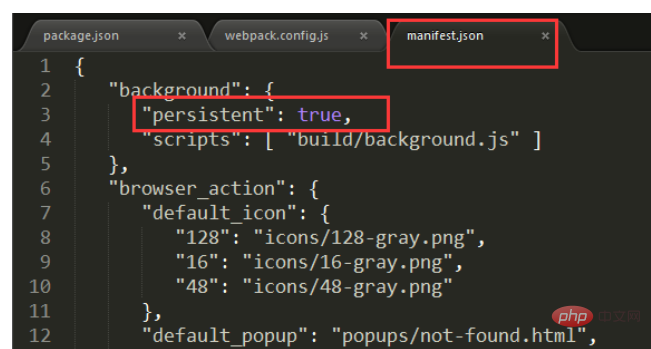
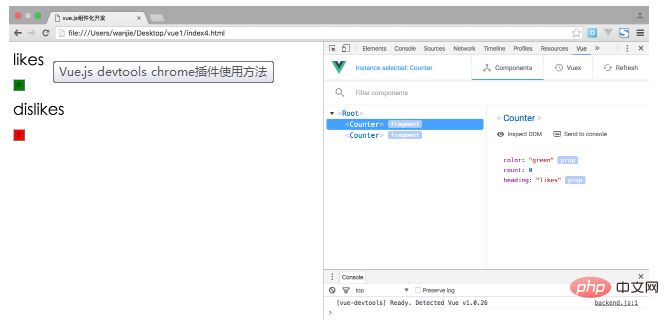
Under normal circumstances, modify the code at the above location. After opening the vue project, select vue in the console and it should be able to be used normally.
Third, if it still cannot be used after adjusting through the above method, then you can adjust the code of webpack.config.js, as shown in the figure below: < /p>
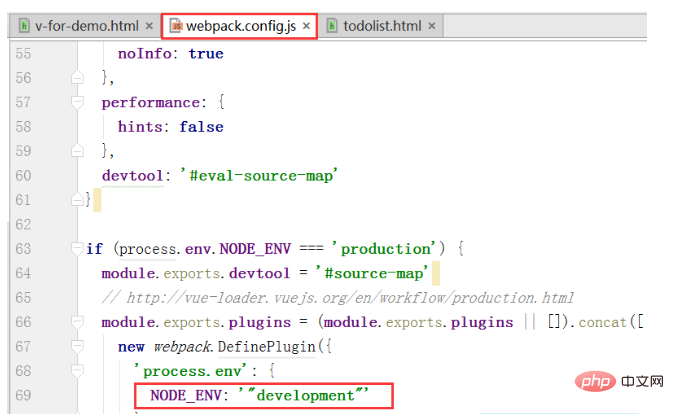 Finally, restart your vue project and it should be ready to use.

2. Source code installation method
1. Download the devtools source code from github, address: https:// github.com/vuejs/vue-devtools.
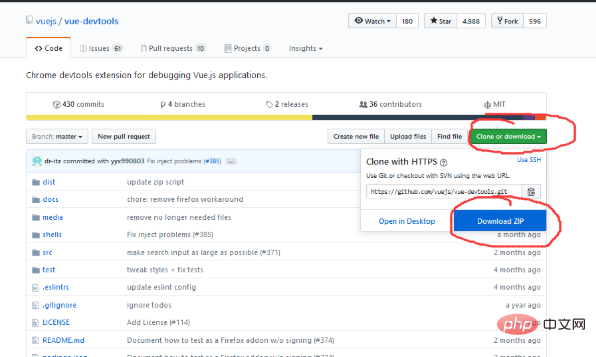
2. After downloading, enter the vue-devtools-master project and execute cnpm install, download the dependencies, and then execute npm run build to compile the source program.
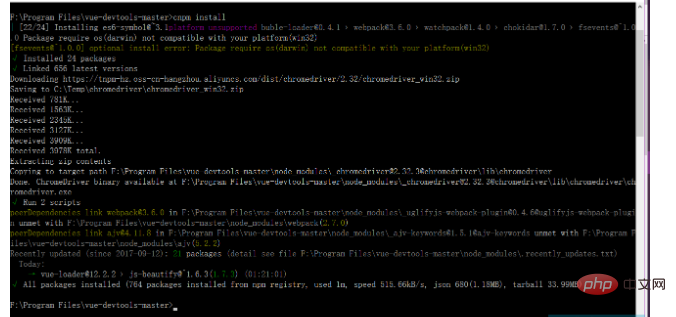
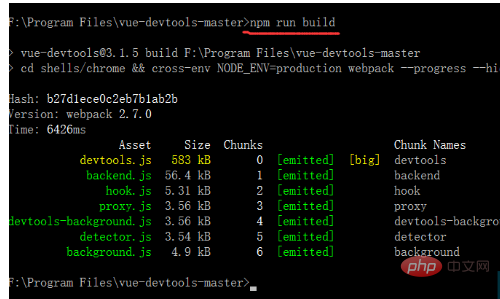
3. After compilation is completed, the directory structure is as follows:
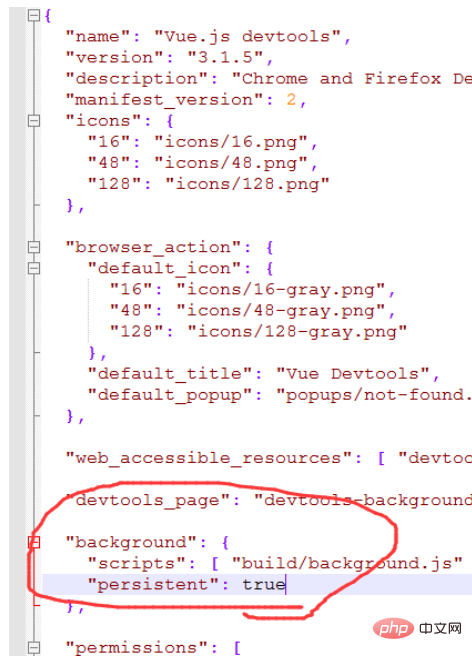
Modify the persistant in mainifest.json in the shells-chrome directory Is true: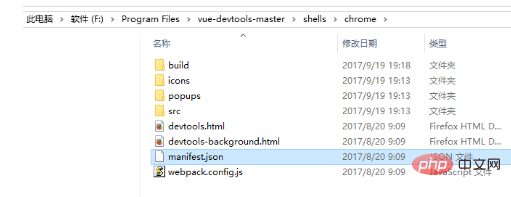
4. Open Google Chrome's Settings --->Extensions and check Developer Mode
< p>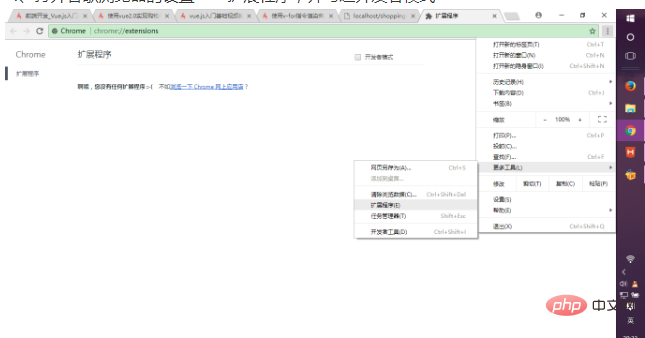

Then directly drag and drop the entire chrome folder in the shells directory of the just compiled project to the current browser, and select enable. The plug-in is installed into the browser. 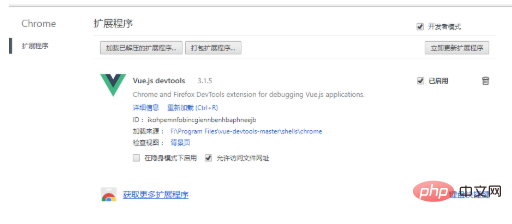
5. Open an existing vue project, run the project, and then in the browser--->Settings--->More Tools--->Developer Tools, Enter debugging mode:
It is found that vue.js is not detected , you can adjust the code of webpack.config.js:

Finally, restart your vue project and it should be ready to use .
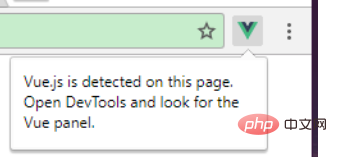
Summary: After the Vue.js devtool plug-in is installed, the problem "vue.js not detected" appears. First, select the developer mode in the extension, open the installation directory of the plug-in, and change the mainifest The persistant in .json is true. If it still doesn't work, adjust the code of webpack.config.js, and finally restart the vue project to use it.
All resources on this site are contributed by netizens or reprinted by major download sites. Please check the integrity of the software yourself! All resources on this site are for learning reference only. Please do not use them for commercial purposes. Otherwise, you will be responsible for all consequences! If there is any infringement, please contact us to delete it. Contact information: admin@php.cn
Related Article
 Chrome plug-in postman installation problem_html/css_WEB-ITnose
24 Jun 2016
Chrome plug-in postman installation problem
 Prospector on Visual Studio Code
30 Jan 2025
Visual Studio Code plug -in: Prospector code quality check tool In order to improve the integration of Prospector and mainstream IDE, I developed a Visual Studio Code plug -in based on the VS Code Linter plugin. Although the plug -in is not currently maintained, it provides valuable experience for the rapid construction of a new Prospector VS Code integrated plug -in. The plug -in allows users to run the Prospector directly in VS Code, and check the code check results in the editor, and use the experience smooth and seamless. Results display: Plug -in
 WordPress plug-in--WP BaiDu Submit structured data plug-in quickly and comprehensively submits web pages to Baidu, wordpress--wp_PHP tutorial
12 Jul 2016
WordPress plug-in--WP BaiDu Submit structured data plug-in quickly and comprehensively submits web pages to Baidu, wordpress--wp. WordPress plug-in--WP BaiDu Submit structured data plug-in quickly and comprehensively submits web pages to Baidu, wordpress--wp 1. Introduction to WP BaiDu Submit WP BaiDu Submit helps to have Baidu webmaster platform chain


Hot Tools
Talend API Tester
The Talend API Tester plug-in, formerly known as Restlet Client, is designed and developed by developers as a tool that can help programmers debug web pages. Talend API Tester makes it easy to call, discover and test HTTP and REST APIs. Enables visual interaction with REST, SOAP and HTTP APIs.
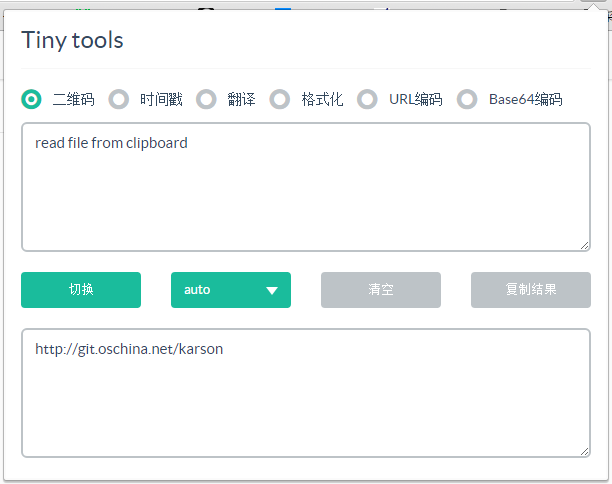
Karson / tinytools
Tiny tools is a Chrome extension that contains many useful tools, such as QR code generator, QR code decoding, translation, timestamp conversion, source format, JSON format, image base64 character encoding, etc.
Angular debugging pluginAngularJS Batarang
The angularjs batarang plug-in is a powerful Angular debugging plug-in that can be installed on Google Chrome. Installing and using this angularjs batarang plug-in can make your development process more convenient.
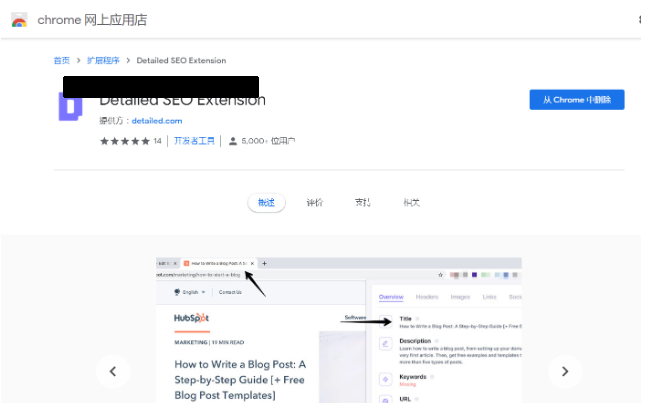
Detailed SEO Extension
SEO is a search engine optimization technology. Website operators need to publish some high-quality content to meet the needs of users, so as to win the favor of search engines and bring search traffic from search engines. Measuring the search engine's love for a website is usually composed of this SEO indicator. Regarding SEO, we have introduced many plug-ins such as SEO toolbar: SEOquake, META SEO inspector, 5118 Webmaster Toolbox - Essential SEO plug-in, etc. Wait, today the editor has brought you a tool that can quickly analyze the title of a certain web page.


