 PHP Libraries
 Picture library
 PHP encapsulation class for adding watermarks, compression, and cutting to images
PHP mainly uses GD library extension to operate image files. When we frequently use PHP to operate images, we will naturally encapsulate many functions, otherwise we will write too much repetitive code. When there are many functions related to pictures, we can consider organizing these functions, so we have the idea of encapsulating them into classes.
There are four main steps to operating pictures:
Step 1: Open the picture
Step 2: Manipulate the picture
Step 3: Output the picture
Step 4: Destroy the image
All resources on this site are contributed by netizens or reprinted by major download sites. Please check the integrity of the software yourself! All resources on this site are for learning reference only. Please do not use them for commercial purposes. Otherwise, you will be responsible for all consequences! If there is any infringement, please contact us to delete it. Contact information: admin@php.cn
Related Article
 How to Build a Simple jQuery Slider
11 Mar 2025
This article will guide you to create a simple picture carousel using the jQuery library. We will use the bxSlider library, which is built on jQuery and provides many configuration options to set up the carousel. Nowadays, picture carousel has become a must-have feature on the website - one picture is better than a thousand words! After deciding to use the picture carousel, the next question is how to create it. First, you need to collect high-quality, high-resolution pictures. Next, you need to create a picture carousel using HTML and some JavaScript code. There are many libraries on the web that can help you create carousels in different ways. We will use the open source bxSlider library. The bxSlider library supports responsive design, so the carousel built with this library can be adapted to any
 TN3 Gallery - #1 Professional Image Gallery
03 Mar 2025
TN3 Gallery: A powerful custom image library based on HTML5 TN3 Gallery is a new HTML5 image library developed using jQuery, which is highly customizable. I know you might be thinking: "Another picture library plugin?" But TN3 is by no means an ordinary picture library! It represents a new generation of the photo gallery, here are the reasons why you should use it as your preferred photo gallery. TN3 Gallery demo features: Amazing loading speed Advanced Album View: Full Screen Mode is amazing! Movie-level image transition effect A wide variety of user-friendly skins to choose from Professional look and feel Fully customization via TN3 API Load your gallery using XML
 10 Premium jQuery Image Gallery Plugins
24 Feb 2025
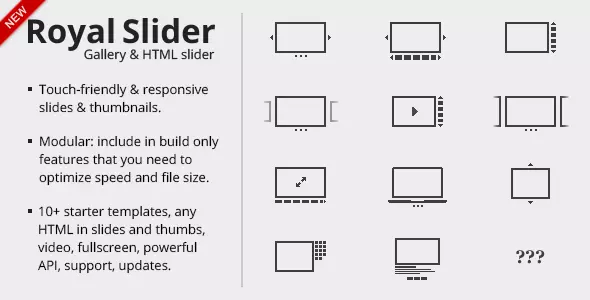
Selected 10 best jQuery picture gallery plugins for CodeCanyon The following are the top ten best jQuery picture library plugins on CodeCanyon for your reference: RoyalSlider – jQuery image library that supports touch RoyalSlider is an easy-to-use jQuery image gallery and content slider plugin with animated subtitles, responsive layouts and touch support for mobile devices. Megafolio Gallery jQuery plugin Megafolio is a highly customizable jQuery plugin for displaying your image gallery or portfolio. It takes advantage of the power of jQuery to masonry fabric
 Image Processing Using Python
03 Mar 2025
Image processing with Python's scikit-image library: A practical guide A 1911 newspaper editor famously stated, "Use a picture. It's worth a thousand words." This highlights the crucial role images play in communication, from everyday phot
 How to add a picture border to the picture and adapt the picture size_html/css_WEB-ITnose
24 Jun 2016
Please tell me how to add a picture border to the picture and adjust the picture size
![[Emergency help] After the large picture obtains the small picture through coordinates, how to remove the border on the small picture? _html/css_WEB-ITnose](/static/imghw/default1.png) [Emergency help] After the large picture obtains the small picture through coordinates, how to remove the border on the small picture? _html/css_WEB-ITnose
[Emergency help] After the large picture obtains the small picture through coordinates, how to remove the border on the small picture? _html/css_WEB-ITnose
24 Jun 2016
[Emergency help] After the large picture obtains the small picture through coordinates, how to remove the border on the small picture?


Hot Tools

PHP multifunctional image processing class
PHP multifunctional image processing class

PHP library for creating animated GIFs
PHP library for creating animated GIFs


